Optimizing images for the web is an important part of building websites. Poorly optimized images means large files and longer loading times. Here’s how to optimize your image in Adobe Photoshop and insert those images into your HTML code.
Image Optimization in Adobe Photoshop
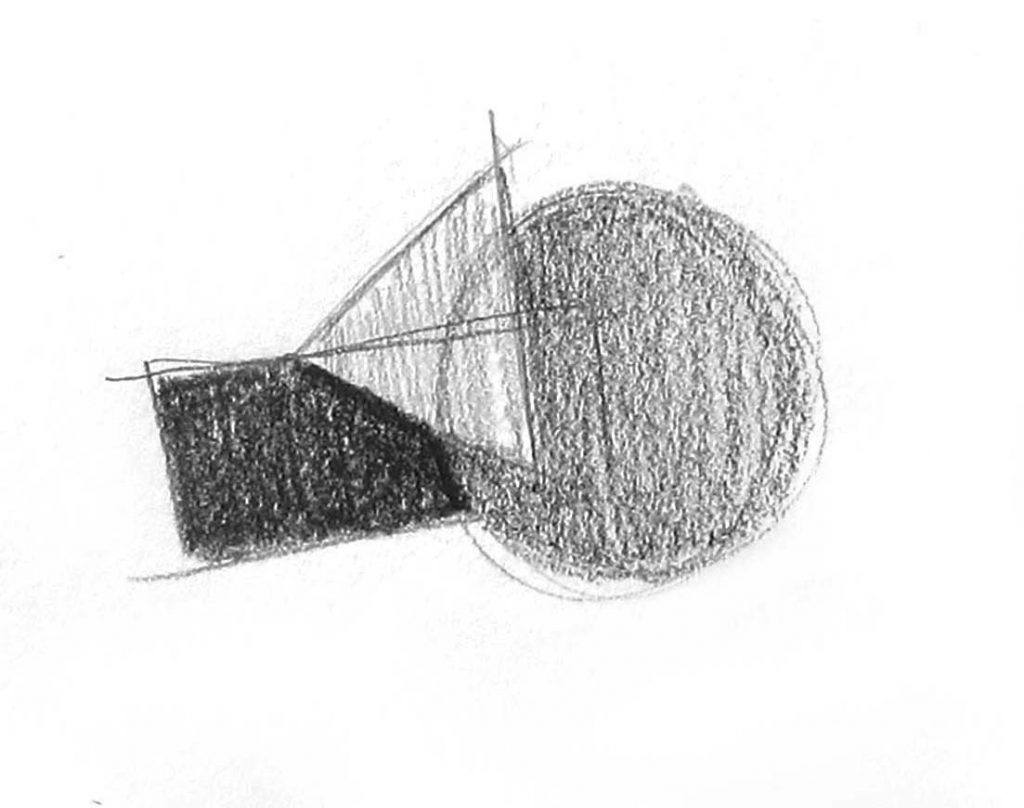
Here is the image we have and we’re ready to put it in our website. However, we need to make sure it’s optimized for the web. Let’s take a look at the step-by-step optimization process for this image: a sketch design. The general process will be listed first, with detailed instruction following after.
The Steps:
- Make edits or changes as needed.
- Crop the image.
- Go to File – Export – Save for Web
- Make your optimization changes and save to your computer.
The Steps: An In-Depth Look
Cropping the Image
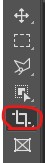
Once you have opened your image and you are ready to optimize, you will need to make sure your image is cropped to the right size. Locate the Tool Box on your screen and find the Crop Tool (circled in red in the image.) Select the tool to activate it.
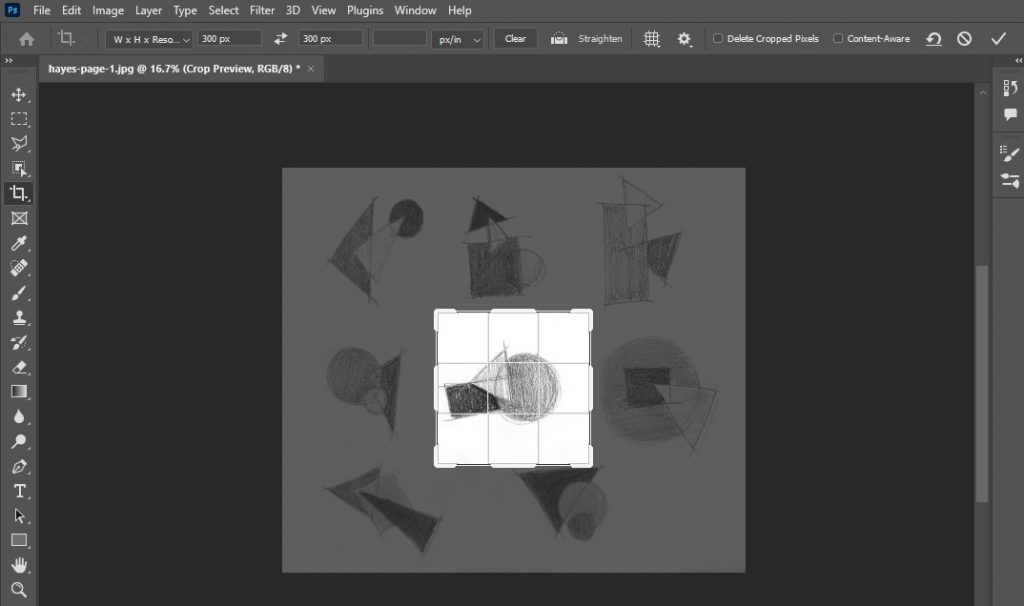
Once the Crop Tool is active, go up the the top of your Photoshop and find the settings for the tool. Make sure that it is set to “W x H x Resolution.” If it isn’t, you can select the arrow and choose from the drop down menu. In those settings, you can also specify the exact size you want your image to show as on your website. For this example, I want to make my image 300px by 300px. Make sure you specify “px” next to the numbers. Using Photoshop, I can put in those numbers and make it exactly that size.

Your screen should look like this. Grabbing the corners of the crop box on your image allows you to scale the cropping while keeping the ratio you specified. You can also move it around to where you want the image cropped. Once happy, press enter or click the check mark found in the top right corner of your crop tool settings.
Exporting the Image
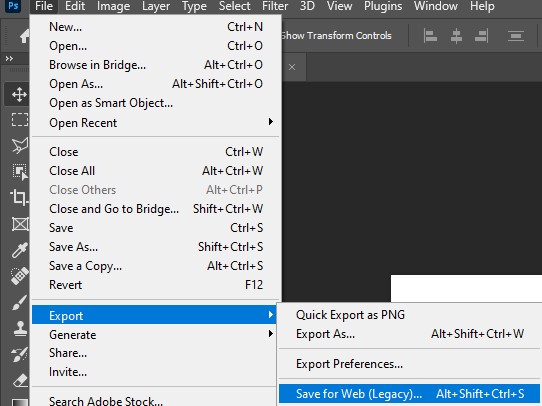
Now it’s time to export your image!
Go the the File menu located in the top left corner of Photoshop. Find the Export option and hover over the arrow to open up more options. Choose the “Save for Web” option.
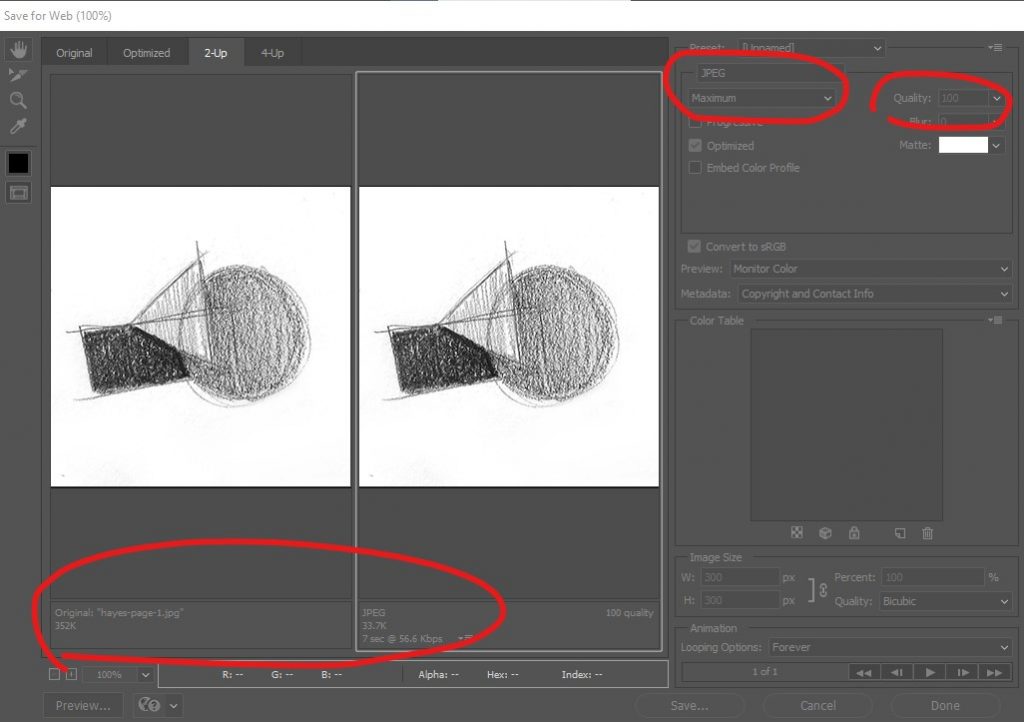
Once selected, a box will open up for you to make the final adjustments. Here, you can choose the file type, with the options being:
- JPEG
- GIF
- PNG-8
- PNG-24
- WBMP
You can also change the quality through the drop-down menu and the Quality slider bar. You want to bring the file size down as much as you can without compromising the quality of the image. The file size can be viewed under the image.
Once you have brought the file down, choose “Save” and save it on your computer in your selected folder. Now you are ready to place your optimized image in your website!
How do you put an image in your HTML code?
- Place the image in your “images” folder located in your root folder.
- Make sure it is named properly such as name_image.jpg
- In your code, place the following and make sure that your image is correctly spelled and linked. Note: Make sure to alter this to fit the needs of your code. Make sure the source is correct and add alternative text. You can also optionally specify a width and height or you can choose to take those out.
<img src="images/name_imagename.jpg" alt="Alternative text goes here" width="___" height="___">