
Gallery
This page will showcase the bike from start to finish using pictures and labels. If you want to learn more about the parts we have on the bike, be sure to check out the build page!
This is how the bike looked when we got it, not too bad!

These wheels looked okay from a distance, but we soon discovered that they were spraypainted. So off to the powdercoater they went.
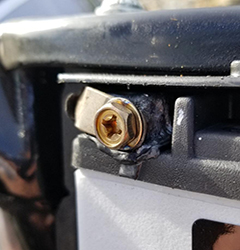
On a ride, my battery terminals were touching the cover, creating an arc and melting one of the terminals.
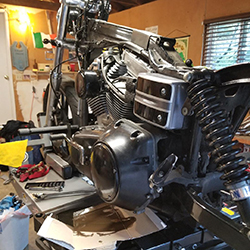
With the bike mostly apart, we begin to discover all of the things that need fixing.
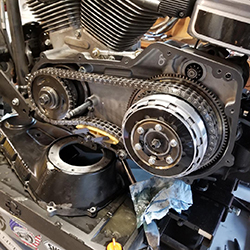
Inside the primary, we find that the chain tensioner had once been broken, and had cracked the outer primary cover.
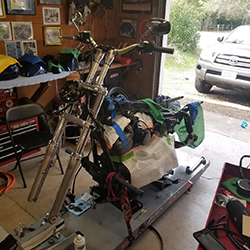
The bike is apart and ready for covers and paint!
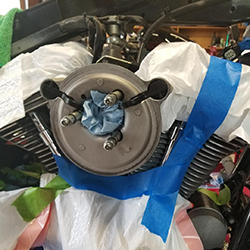
That is the backing plate for the air filter. At this point, we were still waiting on parts to arrive so we could begin the next step.

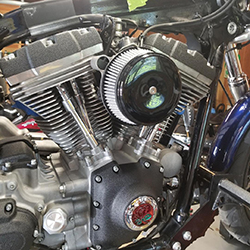
This is the same side as the picture before it. We had put the filter back on and put on one of the rocker covers.
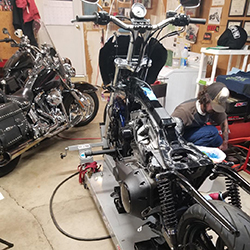
Here we have the bike mostly together. The front and rear wheels are on and we have most the covers on.
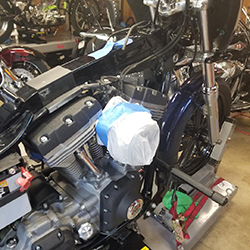
Putting a plastic bad over the intake in order to keep it from getting wet during a wash. It's not the end of the world if it gets a little wet, but the bike won't start until it's dry.
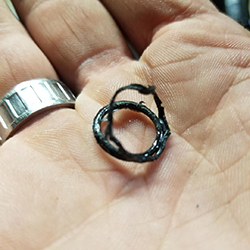
An O-ring should never look this bad! A replace was necessary.
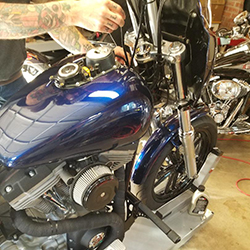
The bike really starts to take shape here, and we're getting more and more excited to complete the project.
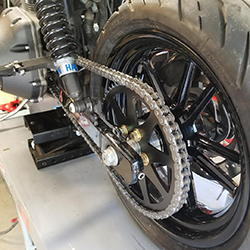
The rear wheel with the new sprocket and chain.
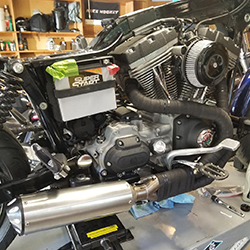
With the exhaust on, and the last of the covers, it's almost time to start the bike.
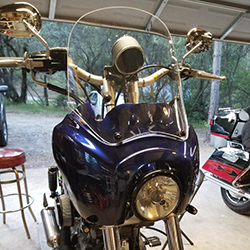
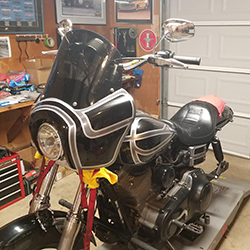
That front fairing looks great!
Putting the tank on can be tricky, especially when it's brand new paint.
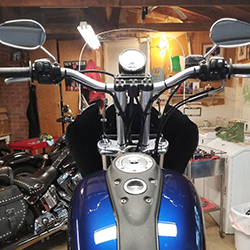
With the tank on it's starting to look completed. All that was left was the rear fender and the seat.